Amigurumi Tip: Maak een ijzerdraad frame voor je gehaakte pop
Vandaag heb ik een hele leuke amigurumi tutorial voor jullie. In deze tutorial ga ik je laten zien hoe je een frame van ijzerdraad kunt maken om je gehaakte pop een skelet te geven. Als je een frame toevoegt aan je gehaakte pop, kun je je gehaakte pop in allerlei verschillende houdingen neerzetten en leuk laten poseren voor foto’s. Daarnaast zorgt een frame van aluminium voor extra stevigheid voor jouw sierpop, zeker bij de nek van de poppen. Een handige techniek voor het maken van de allermooiste bewegelijke amigurumi poppen.
Allereerst wil ik nog even stilstaan bij waarom ik het verwerken van ijzerdraad op mijn blog deel en niet in de Amilishly haakpatronen verwerk. De Amilishly haakpatronen worden gemaakt door een hele brede doelgroep, waaronder een groep die de patronen gebruikt als decoratie en een groep die de patronen haakt als poppen om mee te spelen. Voor de eerste groep is het geen probleem om ijzerdraad te verwerken in de gehaakte pop, maar als een pop bedoeld is om mee te spelen is het veiliger om het ijzerdraad uit de pop te laten.
Voordelen van een ijzerdraad frame voor je gehaakte pop
Wanneer je een skelet van ijzerdraad maakt voor je gehaakte pop, dan kun je je pop leuk laten poseren voor foto's of leuk neerzetten in huis. De pop wordt dan echt een sierpop. Ook voegt het ijzerdraad stevigheid toe aan de hele pop, maar vooral aan de nek van de pop. Hierdoor blijft het hoofd van je gehaakte pop recht staan en wordt het niet topzwaar wanneer je de haren maakt.
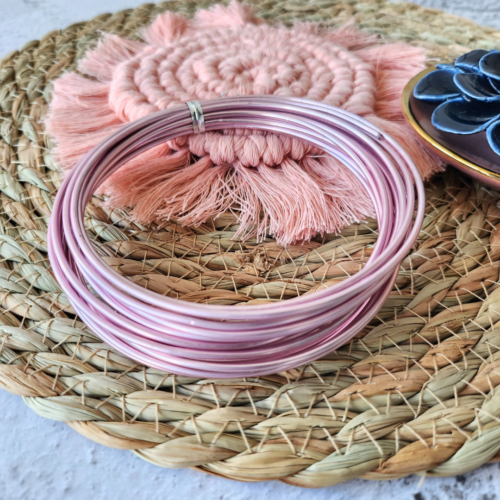
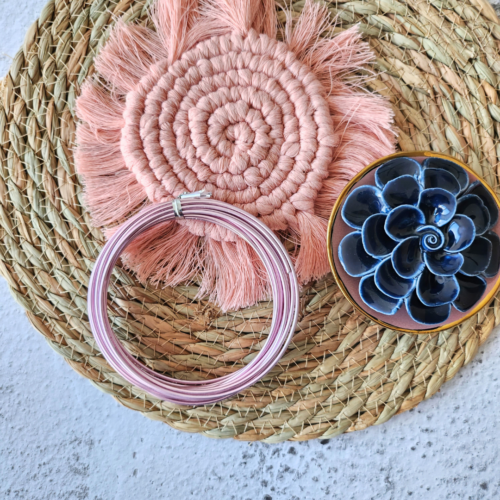
Je maakt jouw Amilishly pop dus levendig met een frame van ijzerdraad, maar er zijn verschillende diktes aluminiumdraad om uit te kiezen in de Amilishly webshop. Het aluminiumdraad is namelijk beschikbaar in een dikte van 1, 2 en 4mm. Welke dikte kies je nu voor jouw gehaakte pop? Dat lees je in .
Veiligheidsinformatie bij het verwerken van ijzerdraad in amigurumi
Zijn de amigurumi poppen bedoeld voor kinderen om mee te spelen, dan is het veiliger om het ijzerdraad frame achterwege te laten en de pop alleen op te vullen met knuffel vulling.
Vullen met vulmiddel als je een ijzerdraad frame maakt voor je gehaakte pop
Als je je gehaakte amigurumi pop wil voorzien van een skelet van ijzerdraad, dan voeg je het vulmiddel pas toe nadat je het ijzerdraad frame in je pop verwerkt hebt. Bij kleine poppen, zoals de Amilishly Chibi poppen of aankleedpop Elsa en haar vriendjes, hoef je de armen en onderbenen van de pop niet met vulmiddel te vullen als je de pop voorziet van ijzerdraad. Voor de bovenbenen kun je kleine plukjes vulmiddel naar beneden begeleiden met behulp van een rechte breinaald. Voor grotere poppen, zoals de Amilishly Toddler poppen of wanneer je een grotere versie van Amilishly poppen haakt, begeleid je ook kleine plukjes vulling naar beneden met behulp van een lange breinaald.
Als je niet kiest voor een ijzerdraad frame voor je gehaakte pop, dan kun je de pop vullen naar behoefte volgens de aanwijzingen van het haakpatroon.
Mocht je na het lezen van deze tutorial nog vragen hebben, stuur me dan gerust een mailtje (contactinfo vind je helemaal onderaan de pagina in de footer) en dan help ik je graag verder.
Amigurumi Tip: Add a softwire frame to your crocheted doll
Today, I have a delightful amigurumi tutorial for you. In this tutorial, I will show you how to create a wire frame to give your crocheted doll a skeleton. Adding a frame to your crocheted doll allows you to pose it in various positions for photographs and enhances its ability to maintain different poses. Moreover, an aluminum frame adds extra stability to your decorative doll, especially around the neck area. It’s a handy technique for crafting the most exquisite and moveable amigurumi dolls.
Firstly, let’s discuss why I share the technique of incorporating wire on my blog rather than adding this directly into the Amilishly crochet patterns. The Amilishly crochet patterns cater to a wide audience, including those who use the patterns for decorative purposes and those who crochet the patterns to create dolls for play. While it’s perfectly fine for the former group to incorporate wire into their crocheted dolls, it’s safer to omit wire for dolls intended for play.
Benefits of a wire frame for your crocheted doll
When you craft a wire skeleton for your crocheted doll, you can pose it attractively for photographs or display it elegantly at home. The doll transforms into a true decorative piece. Additionally, the wire provides sturdiness to the entire doll, particularly the neck region. This ensures the doll’s head remains upright and prevents top-heaviness when adding hair.
Safety considerations when incorporating softwire in amigurumi
If your amigurumi dolls are meant to be used for children to play with, it’s safer to skip the wire frame and solely stuff the doll with fiberfill.
Stuffing fiberfill when creating a softwire frame for your crocheted doll
If you’re planning to create a wire skeleton for your crocheted amigurumi doll, add the fiberfill only after embedding the wire frame into the doll. For smaller dolls like Amilishly Chibi dolls or dress-up doll Elsa and her friends, you don’t need to stuff the arms and lower legs with fiberfill when using a wire frame. For the upper legs, gently guide small tufts of fiberfill downward using a straight knitting needle. For larger dolls like Amilishly Toddler dolls or when crafting a larger version of Amilishly dolls, also guide small portions of fiberfill downward using a longer knitting needle.
If you opt not to use a wire frame for your crocheted doll, stuff the doll according to the instructions in the crochet pattern.
If you have any questions after reading this tutorial, feel free to email me (contact information can be found at the very bottom of the page in the footer), and I’ll be happy to assist you further.

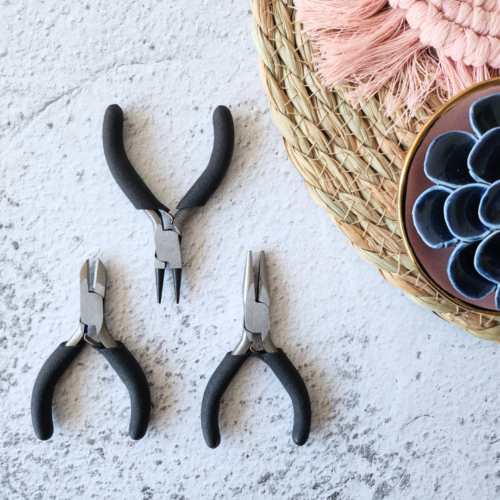
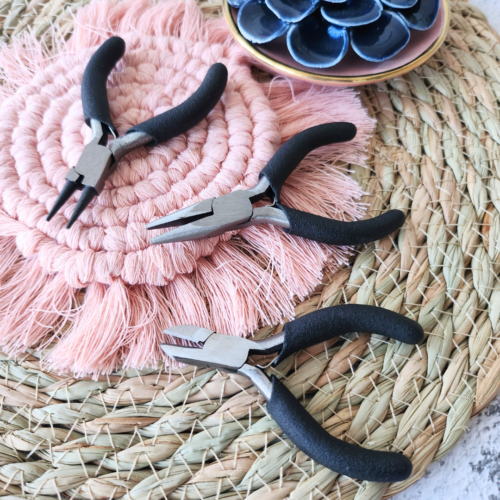
Materiaal:
Materials:

Stap 1:
Knip aan de hand van je popje, wat je haakt to vlak voor de schouders, twee stukken ijzerdraad. Ik heb voor de foto even een compleet popje ernaast gelegd. Eén stuk in de spanwijdte van de armen, het langere stuk is van teen tot hoofd en terug. Het ijzerdraad wordt toegevoegd voordat het popje gevuld wordt. Anders is het heel moeilijk om het ijzerdraad toe te voegen.
Step 1:
Crochet your doll according to pattern until you reach the shoulders of the doll. Then cut two pieces of softwire in the desired length of the doll. I have placed an already finished doll for reference. One of the pieces is the span width of the arms, the longer piece will be placed from feet to head and back. The softwire is added before you stuff the doll with fibrefill, doing this the other way around would make adding the frame harder.

Stap 2:
Buig het ijzerdraad aan beide kanten om, zodat het straks niet door het haakwerk heen zal gaan steken. Op deze foto zie je hoe het ijzerdraad straks in het popje zal zitten.
Step 2:
Bend the softwire on both sides to make sure it cannot poke through your work later. On this photo you can see how your frame will be positioned in your doll.

Stap 3:
Gebruik de platbek tang om het ijzerdraad goed plat te buigen, zodat de uiteinden niet in het haakwerk zullen blijven steken.
Step 3:
Using your pliers, bend the ends of the frame flat to ensure the ends won’t stick into the doll.

Stap 4:
Op deze foto zie je het resultaat.
Step 4:
On this photo you can see the result.

Stap 5:
Stop als eerst het lange stuk ijzerdraad in het popje en vervolgens het stuk voor de armen. Het zou er zo uit moeten komen te zien. Vervolgens vul je het popje met vulmiddel. Ik vul zelf de armen en de onderbenen van kleine poppen niet met vulmiddel, omdat ze door het ijzerdraad al stevig genoeg zijn. Voor de bovenbenen begeleid je kleine plukjes vulmiddel met een breinaald naar beneden. Daarna vul je het lijfje op en vervolgens haak je het popje volgens patroon verder.
Step 5:
First insert the longer piece of frame into the body of your doll and then insert the short piece for the arms. It should look like what the picture shows. Then, stuff your doll with fibrefill. I do not stuff the arms and bottom of the legs of smaller dolls with fiberfil. They are firm enough after adding the softwire. For the upper legs, you stuff the leg small pieces of stuffing, using a straight knitting needle. After that, stuff the body of the doll and continue crocheting your doll according to pattern.

Dit was de tutorial. Je kunt je popje nu op elke mogelijke manier laten poseren. Ik hoop dat je er iets aan hebt 🙂
Liefs,
The tutorial has come to its end. You can pose your doll in every way you like. I hope it has been helpful 🙂
Love,